

 With a small crowd this Passover I ended up with a quite a bit of leftover grated horseradish. I also had an extra French roast that sat uncooked in my freezer. The first thing that came to mind was roast beef with horseradish sauce, but I wanted to put my own spin on it. The weather has also been getting better here, so I have been itching to fire up the grill. And then it came to me, pit beef. What is pit bit beef you ask? Pit beef is Baltimore’s answer to southern style BBQ. It takes a tough piece of meat and cooks it on a grill over charcoal or wood, and that is about where the similarity ends.
What is Pit Beef?
Pit beef uses a lean cut of meat cooked to medium rare, sliced thinly, and served on a kaiser roll. It usually calls for an eye of round, but that is not a cut that is generally available in the kosher market. The French roast I used seemed to work well and is readily available wherever kosher meat is sold. Ideally you would cut it on a deli slicer, but that is not practical for the average home cook. Use your longest, thinnest, and sharpest knife. Cut against the grain and take your time and it will be OK.
Most of the recipes I have seen for pit beef call for oregano (which to me sounds like Italian beef). I went with celery seed for a Chicago style twist (yes, I know a Chicago style hot dog uses celery salt not celery seed). The tricky part about making pit beef is getting medium rare most of the way through with a good char on the outside using the grill. The way to accomplish this is to use two zone cooking to split your grill between direct and indirect heat.
Check out some of our other grilling recipes and BBQ related adventures here:

Baltimore's answer to BBQ, with a Chicago twist.
- 4 lb French Roast
- 1/4 Cup Mustard
- 3 tbsp Granulated Garlic Power
- 3 tbsp Granulated Onion Powder
- 3 tbsp Paprika
- 2 tbsp Salt
- 2 tbsp Pepper
- 2 tbsp Celery Seed
- 6 Kaiser Rolls
- Wood Chips Optional
- Charcoal
- 3 Onions Sliced into thick rounds
- 3 Pickles Sliced into rounds
- 1/2 Cup Horseradish Root
- 1/2 Cup Mayonnaise
- 1 tbsp Mustard
- 1 Clove Garlic
- 1 tbsp Lemon Juice
- Salt To taste
- Pepper To taste
-
Trim any silver skin or large pieces of fat from the roast. Also, trim off any thin pieces of meat from the end of the roast (they will burn) to get a nice uniform shape.
-
Coat the roast on all sides with a thin layer of mustard.
-
Combine the garlic powder, onion powder, paprika, salt, pepper, and celery salt in a small mixing bowl. Coat the roast on all sides with a layer of the spice mixture. The layer of the spice mixture should be just thick enough so you can no longer see the mustard.
-
Create a two zone fire in your grill. The goal of this is to create one area of your grill that is meant for high, direct heat similar to a stove, and a second area with lower, indirect heat similar to your oven. This is done by banking a small amount of coals on one side of your grill. I would recommend using fewer coals than you think you need. You can always add more coals to increase the heat, but it is a lot harder to remove lit coals to cool down your grill. If you have, throw on some wood chips or chunks for additional smoke flavor. The wood is not a must, but it is will give your meat a little something extra.
-
Put the roast on the cooler, indirect heat side of the grill (the side without the coals). Put the probe from your thermometer in the middle of the thickest part of the roast. Cover the grill and allow the roast to cook until it hits 130°F.
-
Once the roast hits 130°F remove the thermometer and move it to the hotter, direct heat side of the grill and cook on each side until you get a nice char. This should get the internal temperature to about 145°F, medium rare. Remove the roast from the grill to a cutting board and cover loosely with foil, allowing it to rest for at least ten minutes
-
While the roast rests, throw the onions on the hot side of the grill and cook until they start to char. Keep an eye on them as they will burn easily and be careful to not let them slip through the gaps in the grill grate.
-
Peel the horseradish and add it along with the mayo, garlic clove, lemon juice, mustard, salt and pepper to the blender or food processor. Blend until smooth. This can be done in advance, but not too early or the horseradish will start losing its bite.
-
Once the roast has rested, slice it as thin as you can against the grain. This will shorten the fibers of the meat creating a more tender tasting piece of meat.
-
Toast the buns on the hot side of the grill, being careful not to let them burn. Put some of the horseradish sauce on the bottom of the bun, then the pickles, followed by the sliced beef. Top with the grilled onions and the top half of the bun. Serve immediately.
cooler

 Did you ever come across an item in the grocery store that you you aren’t sure what you are going to do with, but you know you have to try. Last week when I was doing my Passover produce shopping, I came across kumquats.

 The holidays usually means large meals with big crowds. Spending time in Shul (AKA Synagogue) and visiting with friends and family. But this year everything is different. With everyone stuck at home alone for

 What’s the Deal With Doughnuts

 POP-UP NIGHT
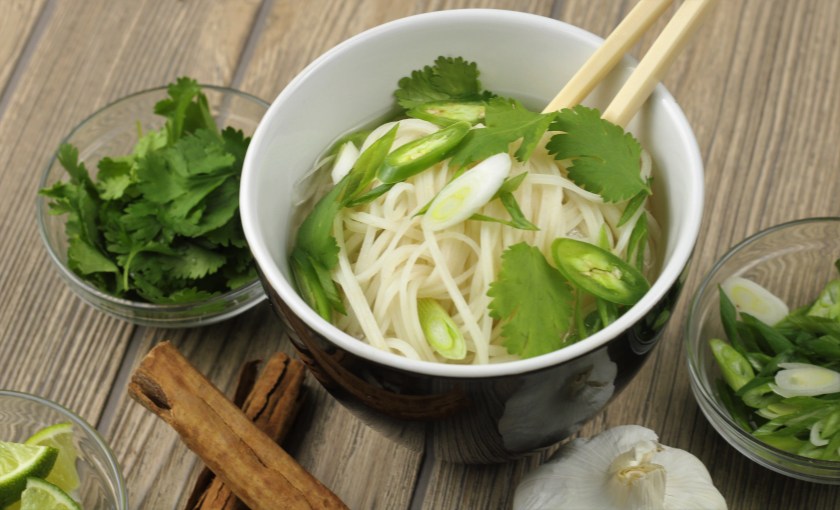 Pho,
Pho, 


 There is nothing more comforting to me than soup. It is also a great make ahead food, all you have to do is quickly warm it up in a pot or the microwave and you are ready to eat in a few minutes. It freezes excellently so you can can make large batches and use it for multiple occasions.


 Fish Tacos

 Welcome Home

 The holiday of
You must be logged in to post a comment.